

You’re about to take a shower when you spot dark patches creeping along the grout lines. Or maybe you’ve noticed a musty smell in your basement that just won’t go away, no matter how much you clean. Chances are, you’ve got a black mold problem — and you’re not alone.
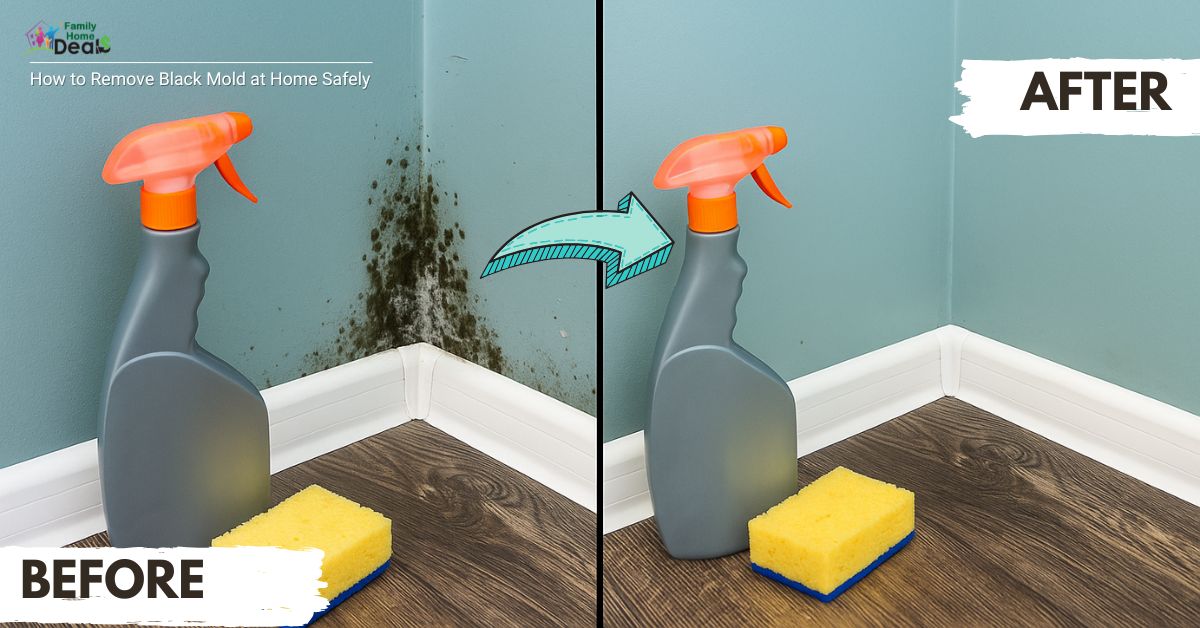
Black mold is one of the most common (and frustrating) household issues. It looks nasty, smells worse, and if left unchecked, it can trigger health problems like allergies, asthma, or respiratory irritation. The good news? You don’t need to hire expensive professionals right away. With the right knowledge, tools, and a bit of elbow grease, you can learn how to remove black mold at home safely, affordably, and effectively.
This guide will give you everything you need: simple step-by-step instructions, budget-friendly cleaning solutions, prevention strategies, common mistakes to avoid, and even a cheat sheet for quick reference. By the time you finish reading, you’ll feel confident tackling black mold in your home — and even more importantly, keeping it from ever coming back.
What Is Black Mold (and Why It Matters)
“Black mold” often refers to Stachybotrys chartarum, a type of mold that thrives in damp, humid conditions. That said, many molds appear dark or black but are not necessarily S. chartarum. The important thing is that any mold growth can cause problems.
Before we dive into cleaning, let’s set the record straight.
-
Black mold isn’t always one species. When people say “black mold,” they usually mean Stachybotrys chartarum. But many mold types can appear black or dark green.
-
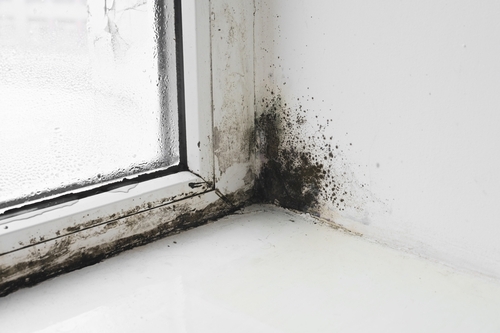
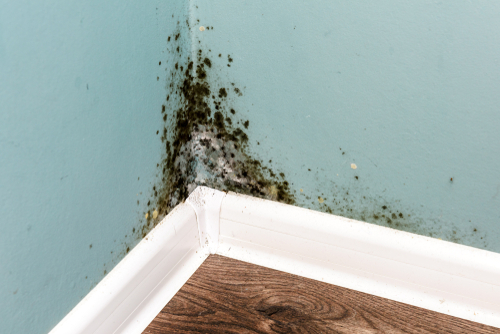
It loves moisture. Mold thrives in damp, warm, poorly ventilated areas — bathrooms, kitchens, basements, and around leaky windows or roofs.
-
It can affect health. While not always deadly (contrary to some myths), black mold exposure may cause:
-
Sneezing and coughing
-
Skin irritation
-
Red or itchy eyes
-
Asthma flare-ups
-
Fatigue or headaches
-
-
It damages homes. Beyond health, mold stains walls, weakens drywall, rots wood, and lowers your property value.
Bottom line: No matter what type of mold you have, you want it gone.
How to Know If It’s a Small Job or a Big One
Not all mold problems are created equal. Here’s how to tell if you can handle it yourself or if you should call the pros.
| Criteria | DIY Safe Zone | Call Professionals |
|---|---|---|
| Size | Under 10 sq. ft. (about a 3×3 ft patch) | Over 10 sq. ft., multiple rooms, or entire walls |
| Surface | Hard, non-porous (tile, glass, metal, sealed wood) | Porous (carpet, drywall, insulation) |
| Cause | Minor leaks, condensation, and humidity | Flood damage, hidden leaks, HVAC contamination |
| Health risks | No major respiratory issues in the household | Babies, the elderly, and asthma sufferers at risk |
Budget-Friendly Mold Removal Supplies
Here’s your affordable shopping list. Many of these items are things you already have at home.
-
Protective gear: Gloves, goggles, N95 mask (non-negotiable)
-
Cleaning supplies:
-
Dish soap
-
White vinegar (kills 82% of mold species)
-
Hydrogen peroxide (3%)
-
Baking soda (for scrubbing and deodorizing)
-
Bleach (only for hard, non-porous surfaces — use sparingly)
-
-
Tools: Spray bottles, scrub brush, old towels, bucket, sponges
-
Prevention tools: Fan, dehumidifier (borrow, rent, or buy used), hygrometer ($10–15)
💰 Estimated cost: $30–$60 if you need to buy everything new. But if you already have basics like vinegar, soap, and gloves, you can often spend under $15.
Step-by-Step Guide: How to Remove Black Mold Safely
Step 1: Find and Fix the Moisture Source
-
Check for leaks around sinks, toilets, showers, or windows.
-
Look at ceilings for water stains (roof leaks).
-
Use a dehumidifier in damp basements.
-
Without fixing the moisture problem, mold will come back — guaranteed.
⚡ Did you know? Mold can begin growing within 24–48 hours of water exposure.
Step 2: Protect Yourself and Contain the Area
-
Wear gloves, goggles, and an N95 mask.
-
Close off the room and cover doorways with plastic sheeting.
-
Turn off central heating/AC to stop spores from spreading.
Step 3: Scrub Away the Mold
Here’s the cleaning order to follow:
-
Dish Soap + Warm Water
-
Mix a few drops of soap in warm water.
-
Scrub the surface thoroughly with a stiff brush.
-
-
Vinegar or Hydrogen Peroxide
-
Spray directly onto the cleaned surface.
-
Let it sit for 10 minutes.
-
Wipe clean and dry.
-
-
Optional: Bleach Solution (For Stains Only)
-
Mix 1 cup of bleach in 1 gallon of water.
-
Apply with a sponge or spray on non-porous surfaces.
-
Rinse and dry.
Never mix bleach with vinegar or ammonia — it creates toxic fumes.
-
Step 4: Dry, Dry, Dry
-
Use fans or a dehumidifier.
-
Open windows for ventilation.
-
Aim to dry completely within 24 hours.
Step 5: Dispose of or Deep Clean Contaminated Items
-
Toss porous items like carpet padding or insulation.
-
Wash clothes, towels, or curtains in hot water + detergent.
-
Sun-dry whenever possible — UV rays kill mold spores.
Real-Life Example / Case Study
Case Study 1: Leaky Roof in a Humid Climate
-
Background: A homeowner in a tropical climate noticed black mold growing in the attic ceiling and along interior wall seams after heavy rain seasons.
-
Costs: Professional quotes were high (~$1,200-$1,500) just for mold remediation. The homeowner instead chose a DIY budget route.
-
Actions:
-
Fixed the roof leak (new roof flashing + sealing) – ~$200 in materials.
-
Rented a ventilation fan for a weekend (~$20-30).
-
Cleaned with vinegar + detergent mix; spot treat with bleach for stained ceiling tiles.
-
Replaced a few badly damaged drywall pieces (~$50).
-
Installed a hygrometer (~$15) to monitor humidity; used a dehumidifier during rainy days.
-
-
Result: After two seasons, no regrowth, and no musty smell. Cost was under $400. The homeowner saved more than $1,000 compared to going pro.
Case Study 2: Meet Sarah, a homeowner in Florida.
-
Problem: A small bathroom ceiling leak after a storm led to black mold patches.
-
Professional quote: $1,200–$1,500 for remediation.
-
Her DIY approach:
-
Fixed leak ($100 for plumber visit).
-
Scrubbed the ceiling with soap and vinegar.
-
Spot-treated with hydrogen peroxide.
-
Installed a $15 hygrometer and borrowed a friend’s dehumidifier.
-
-
Total cost: $150.
-
Result: Mold-free bathroom six months later, with regular humidity monitoring.
Prevention: Key Variation Moves & Long-Term Strategy
Preventing mold from returning is as important as removing it. Here are strategies (sometimes small lifestyle changes) that make a big difference:
-
Maintain relative humidity: Use a hygrometer. Aim for 30-50%. Use dehumidifiers in damp rooms.
-
Ventilate well: Exhaust fans in bathrooms and kitchens. Open windows. Use ceiling fans to move air.
-
Insulate cold surfaces: Cold pipes, walls, and windows can generate condensation. Insulate to reduce moisture build-up.
-
Monitor after weather changes: Heavy rain, storms, or high humidity seasons often trigger mold. Be proactive—check problem spots.
-
Choose mold-resistant materials: If replacing drywall, carpets, or ceiling tiles, use mold/mildew-resistant varieties.
-
Regular cleaning and inspections: Clean up spills quickly (within 24 hours). Check for leaks or staining on walls or ceilings periodically.
Seasonal Tip:
-
Winter → Watch for condensation on windows.
-
Spring/Fall → Check basements after heavy rains.
-
Summer → Run AC or dehumidifier during humid months.
Budget Comparison: DIY vs. Professional
| Expense | DIY Approach | Professional Service |
|---|---|---|
| Cleaning supplies | $15–$60 | Included |
| Equipment (fan, dehumidifier) | $0–$200 (rent or borrow to save) | Included |
| Labor | Your time | $500–$2,500 (average) |
| Total | $30–$300 | $1,000–$3,500+ |
👉 If your problem is small and manageable, DIY saves a huge amount. But if mold covers large areas, pros may be worth the investment.
Common Mistakes & Pitfalls to Avoid
| Mistake | Why It’s a Problem | How to Avoid It |
|---|---|---|
| Painting or caulking over mold without cleaning | Mold remains underneath; surface coating fails, mold returns. | Always clean + dry before painting. If mold is present, kill it and remove damage first. |
| Using bleach on porous materials | Bleach can’t reach mold embedded deep; materials stay damp → regrowth. | Replace porous items if mold is severe. Only use bleach on hard, non-porous surfaces. |
| Ignoring small leaks or condensation | Small moisture problems often lead to bigger mold growth over time. | Address leaks immediately; wipe condensation; improve insulation. |
| Skipping safety gear | Mold spores irritate skin, eyes, lungs; high exposure can be serious. | Always wear gloves, mask, goggles; protect other areas to avoid spreading spores. |
| Waiting too long to dry items/materials | Mold can grow fast in damp conditions; waiting allows spores to multiply. | Dry within 24-48 hours; use fans/dehumidifiers. |
Frequently Asked Questions (FAQs)
Q: Is black mold always dangerous?
A: Not always in small amounts or short exposure. But it can cause respiratory issues, allergic reactions, especially in those with asthma or weakened immune systems. Best to remove it.
Q: Can I just use bleach to kill black mold?
A: Bleach can help on hard, non-porous surfaces, but it’s not always sufficient, especially on porous materials. Also, bleach may produce fumes and needs proper ventilation and safety precautions. Vinegar or hydrogen peroxide is a safer alternative in many cases.
Q: How often should I check for mold?
A: Ideally, quarterly inspections in moisture-prone areas (bathrooms, basements, behind appliances). After heavy rains or if you smell mustiness, check immediately.
Q: Do I need to test for the type of mold?
A: In most cases, no. Health agencies like the CDC and EPA advise that any mold should be removed regardless of type. Testing is expensive and usually unnecessary unless there are professional concerns.
Q: What if I rent my home—responsibility issues?
A: Tenants should report leaks or moisture issues to landlords. Landlords are typically responsible for structural issues. Document everything. If the landlord doesn’t act, check local housing or health authority rules.
Seasonal & Contextual Considerations
-
Humid / rainy seasons: Especially risky for mold growth. Be ready with dehumidifiers, extra ventilation, and timely roof and window inspections.
-
Cold months: Cold surfaces (windows, uninsulated walls) lead to condensation. Use insulation and maintain a moderate indoor temperature.
-
Tropical climates: Constant humidity can encourage mold. You may need to run air conditioning or dehumidifiers year-round.
Research & Statistics You Should Know
-
Dry wet or damp materials within 24 to 48 hours after a spill or leak to prevent mold growth.
-
Indoor humidity over 60% is strongly associated with mold growth. Keeping it under 50% is safer.
-
Small areas of mold (under ~10 square feet) are usually manageable without professionals. Larger or widespread infestations generally require professional remediation.
Did You Know? (Quick Facts Box)
-
Mold spores are everywhere — but they only grow when moisture is present.
-
A colony of mold can double in size in less than 48 hours.
-
Indoor humidity above 60% almost guarantees mold growth.
-
Sunlight is one of the most natural mold killers.
Budget-Friendly Alternatives & Hacks
-
Use white vinegar: inexpensive, non-toxic, kills many types of mold.
-
Use hydrogen peroxide (3%) — spray, wait, scrub.
-
Baking soda + water: a paste works for stubborn spots; rinse well.
-
Recycle fans or borrow from friends/rentals during the drying process rather than buying new.
-
Check second-hand stores for gently used dehumidifiers or tools.
Summary & Best Practices Cheat Sheet
Here’s a quick checklist you can print or keep handy:
-
Fix leaks immediately.
-
Dry damp areas within 24-48 hours.
-
Use protective gear when cleaning.
-
Clean hard surfaces with detergent, follow with vinegar / peroxide.
-
Use bleach sparingly, only on hard surfaces.
-
Replace porous materials after moisture damage.
-
Control indoor humidity (30-50%).
-
Ventilate moisture-generating activities (cooking, showering).
-
Regularly inspect moisture problem areas.
Conclusion
Removing black mold at home on a budget isn’t just possible — it’s practical. With good observation, prompt action, and some affordable tools, most minor to moderate mold problems can be handled without spending a fortune. Key steps are identifying moisture sources, cleaning thoroughly, using safe but effective cleaners like vinegar or detergent solutions, drying everything fully, and removing materials that have been compromised.
Preventing mold from returning comes down to moisture control: keeping humidity low, ensuring proper ventilation, fixing leaks, and using mold-resistant materials. If you follow the steps outlined above, you’ll reduce not only the chance of black mold reappearing but also potential health risks and future repair costs. Remember: act early, clean well, dry thoroughly — that will save you time, money, and stress in the long run.